If you want to develop for the Microsoft Surface (the table, not the tablet) you need a Surface device. But using the device to develop is not always practical, especially when there are more developers than Surface devices.
The solution for this is to install the Surface SDK Workstation Edition on your local development machine. This article will address some limitations you have to work around.
The Microsoft Surface SDK
The Microsoft Surface SDK was released to attendees of the PDC in 2008, making me one of the lucky few. You can still view the “Developing for Microsoft Surface” session on Channel 9.
With the PDC 2009 the Microsoft Surface SDK 1.0 SP1 Workstation Edition was publicly released.
Prerequisites
Before you can install the Surface SDK, there are some prerequisites:
- Windows Vista (not Starter Edition) x86
- Microsoft XNA Framework Redistributable 2.0
- Microsoft Visual C# 2008 Express Edition or Microsoft Visual Studio 2008
When you are running Vista x86
Assuming you are not running Windows Vista Starter Edition, you can install the Surface SDK without problems and can start developing immediately!
When you are not running Vista, or x86

Let’s face it, Windows Vista is old and gone, and everybody is running Windows 7 nowadays. So, does this mean no more Surface development?
Lucky enough Brian Peek wrote a great blog post about this and I will summarize it here.
Naturally this makes the installation not supported by Microsoft.
Extracting the installer
There are two installers on the web available at the moment. An executable if you download the SDK from the partner site and a MSI if you download the SDK from the public Microsoft download site.
For the MSI:
msiexec /a SurfaceSDKWE.msi /qb TARGETDIR=c:\surfaceFor the executable:
"Microsoft Surface SDK 1.0 SP1, Workstation Edition.exe" /extract c:\surfacePatching the installer
Get the Orca tool from the Windows SDK, or if you do not want to download 4GB for a tool not bigger than 2MB, try a less supported site. 😉
- Open the extracted
SurfaceSDKWE.msifile with Orca. - Select the table
LaunchCondition - Select the row with
Installed OR NOT VersionNT64and choose Drop row - Save & Close Orca
Patching the Custom Actions
Note
This is only needed on a x64 machine.
Get the CorFlags tool from the Windows SDK.
-
Open a command prompt with elevated privileges (Run as administrator).
-
Go to the location of the extracted installer
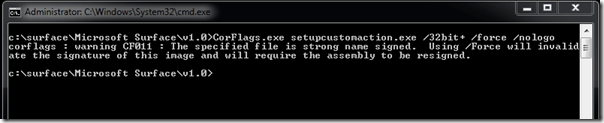
Terminal window cd "Microsoft Surface\v1.0"CorFlags setupcustomaction.exe /32BIT+ /Force /nologoIgnore the warning with the code CF011 about strong named signing.

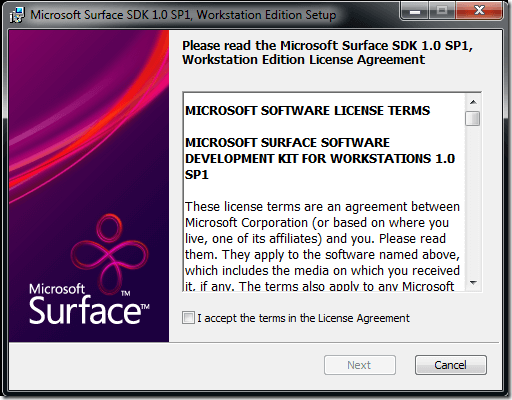
Installing the SDK
This is pretty straightforward.
 If you are running on a x86 system you can start developing!
Patching the executables
Note
This is only needed on a x64 machine.
To make sure the Surface SDK executables are using the x86 CLR you have to patch them all.
cd "C:\Program Files (x86)\Microsoft SDKs\Surface\v1.0\Tools\GenTag"for %i in (*.exe) do CorFlags %i /32BIT+ /Force /nologo /UpgradeCLRHeader
cd "C:\Program Files (x86)\Microsoft SDKs\Surface\v1.0\Tools\Simulator"for %i in (*.exe) do CorFlags %i /32BIT+ /Force /nologo /UpgradeCLRHeader
cd "C:\Program Files (x86)\Microsoft SDKs\Surface\v1.0\Tools\SurfaceStress"for %i in (*.exe) do CorFlags %i /32BIT+ /Force /nologo
cd "C:\Program Files (x86)\Microsoft Surface\v1.0"for %i in (*.exe) do CorFlags %i /32BIT+ /Force /nologo
Patching the Sample Applications
Note
This is only needed on a x64 machine.
Modify all projects files (*.csproj) and change the build type from Any CPU to x86.
For example, add the following to the appropriate PropertyGroup tags:
<PlatformTarget>x86</PlatformTarget>