A lot of people prefer, for good reasons, to manage their infrastructure as code (IaC). Some infrastructures might require an App Registration in an Azure AD. So, why would we not apply the IaC practice here as well?
An Azure pipeline might stop you,
stating Insufficient privileges to complete the operation.
So, this is not possible, or is it?
In this article I will show you how to make an Azure pipeline in charge of apps in your Azure AD.
Configuring an Azure pipeline
Before we configure the pipeline a connection to the Azure subscription needs to be in place.
Connecting to the subscription
If there currently is no connection between the Azure DevOps environment and the Azure subscription, it is very straight forward to create one. There are several ways to do this. The details can be found on the Connect to Microsoft Azure page of the Azure pipelines documentation site.

Using this automatic configuration of a service principal will make sure the Azure pipeline can create resources in the Azure subscription.
Building a pipeline
To create an Azure pipeline, you need a repository. An empty one suffices.
An existing pipeline can be modified, or a new one can be created with the “New pipeline” wizard.
For this example, I choose the “Starter pipeline” and removed the two default steps that come with the template.
trigger:  - master
pool:  vmImage: ubuntu-latest
steps:
Add the Azure CLI Task as a step.
This task is the place to define scripting commands to execute when the pipeline is running.
Select the Azure subscription that is available, here the Azure connection is used that is described in the previous chapter.
For this example, I use PowerShell Core, but this can be done with the other available scripting languages just as easy.
steps: - task: AzureCLI@2 inputs: azureSubscription: Azure scriptType: pscore scriptLocation: inlineScript inlineScript: | # Place scripting hereThis is the spot to write the commands to create the Azure AD app.
This is done with the az ad app create command.
We capture the appId for other configuration steps that I will add later.
$appId = (az ad app create --display-name AuthTest --homepage https://mhauthtest.azurewebsites.net --identifier-uris https://mhauthtest.azurewebsites.net --reply-urls https://mhauthtest.azurewebsites.net/.auth/login/aad/callback --query 'appId' -o tsv)
Write-Host "App ID: $appId"
The pipeline can now be committed to the repository.
Running into issues
When running the pipeline and the Azure CLI task executes, the following output is logged.
/usr/bin/az cloud set -n AzureCloud/usr/bin/az login --service-principal -u *** --password=*** --tenant *** --allow-no-subscriptions/usr/bin/az account set --subscription 2036eb16-59ca-***/usr/bin/pwsh -NoLogo -NoProfile -NonInteractive …Insufficient privileges to complete the operation.App ID:Although the service principal is a Contributor on the Azure subscription,
no operations on the connected Azure AD are allowed.
Supplying the right permission
Attempts with assigning administrator roles to the service principal came up fruitless. But this bug report from 2018 put me on the right track.
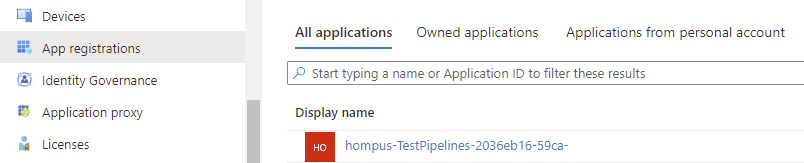
First, go to the Azure app registration for the pipeline in the Azure portal.
On the API permissions pane, choose to Add a permission.
Select the Azure Active Directory Graph as the API of choice
and select the Application.ReadWrite.OwnedBy permission.
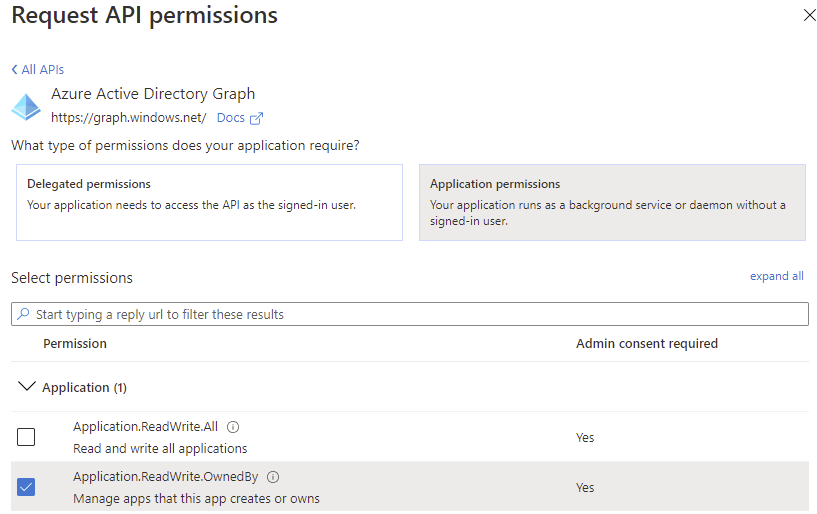
Note
You can also choose the Application.ReadWrite.All permission if this suits your situation better.
After saving, an administrator with the required privileges needs to consent to this permission.

Now we can go back to the pipeline.
When the pipeline is executed again, the exception is gone, and an application is created.
/usr/bin/az cloud set -n AzureCloud/usr/bin/az login --service-principal -u *** --password=*** --tenant *** --allow-no-subscriptions/usr/bin/az account set --subscription 2036eb16-59ca-***/usr/bin/pwsh -NoLogo -NoProfile -NonInteractiveApp ID: 99ad3d31-0eb5-49b0-b17c-02488d18e232More configuration in the pipeline
Now that the pipeline can create the application, you can add more configuration.
For example, permissions can be added with the
az ad app permission command
credentials (like client secrets) can be (re)set with the
az ad app credential command.
# Add permission to sign in and read user profileaz ad app permission add --id $appId --api 00000002-0000-0000-c000-000000000000 --api-permissions 311a71cc-e848-46a1-bdf8-97ff7156d8e6=Scope
# Generate a new client secret$password = (head /dev/urandom | tr -dc [:alnum:] | fold -w 30 | head -n 1)# Set the new client secretaz ad app credential reset --id $appId --password $password -o none
When running the pipeline again, the log shows the cli command has recognized the existing application and updates the configuration accordingly.
Found an existing application instance of "99ad3d31-0eb5-49b0-b17c-02488d18e232". We will patch itApp ID: 99ad3d31-0eb5-49b0-b17c-02488d18e232Now the management of Azure AD apps is part of our Infrastructure as Code.